Did you know April is National Letter Writing Month? It’s the perfect time to slow down, pick up a pen, and connect with someone the old-fashioned way—with a handwritten note.
I believe there’s something truly special about putting your thoughts on paper. A note in the mail is a little moment of joy, a smile tucked inside an envelope. And in a world buzzing with notifications and emojis, it’s a deeply personal gesture that stands out.
Writing to people is the amazing opposite of social media. Instead of isolating us, it connects us. Instead of being focused on appearance, it focuses on the spirit. Instead of flashy and distracting, it's slow and meaningful, and helps us re-focus and reflect on our relationships. You can change your whole attitude and help change the mood/day of the lives of the people around you just by writing a simple and thoughtful note 💌.
Why Letter Writing Still Matters
Think about the last time you opened your mailbox and found something that wasn’t a bill or a catalog. A real letter, addressed just to you in familiar handwriting. Remember that feeling? That little flutter of excitement? That’s the power of handwritten connection!
Whether it’s a thank you note, a birthday wish, a just-because message, or a simple “I miss you”—your words, in your own penmanship, mean more than you know.
Let’s Celebrate All Month Long
To celebrate Letter Writing Month, I’m challenging you to write at least three unexpected notes this month. Here are some ideas:
Surprise an old friend with a “thinking of you” card
Send a note to someone who’s helped you recently
Leave a love note for your spouse, your child—or even your mail carrier
Drop a few lines to someone you see often but never pause to thank
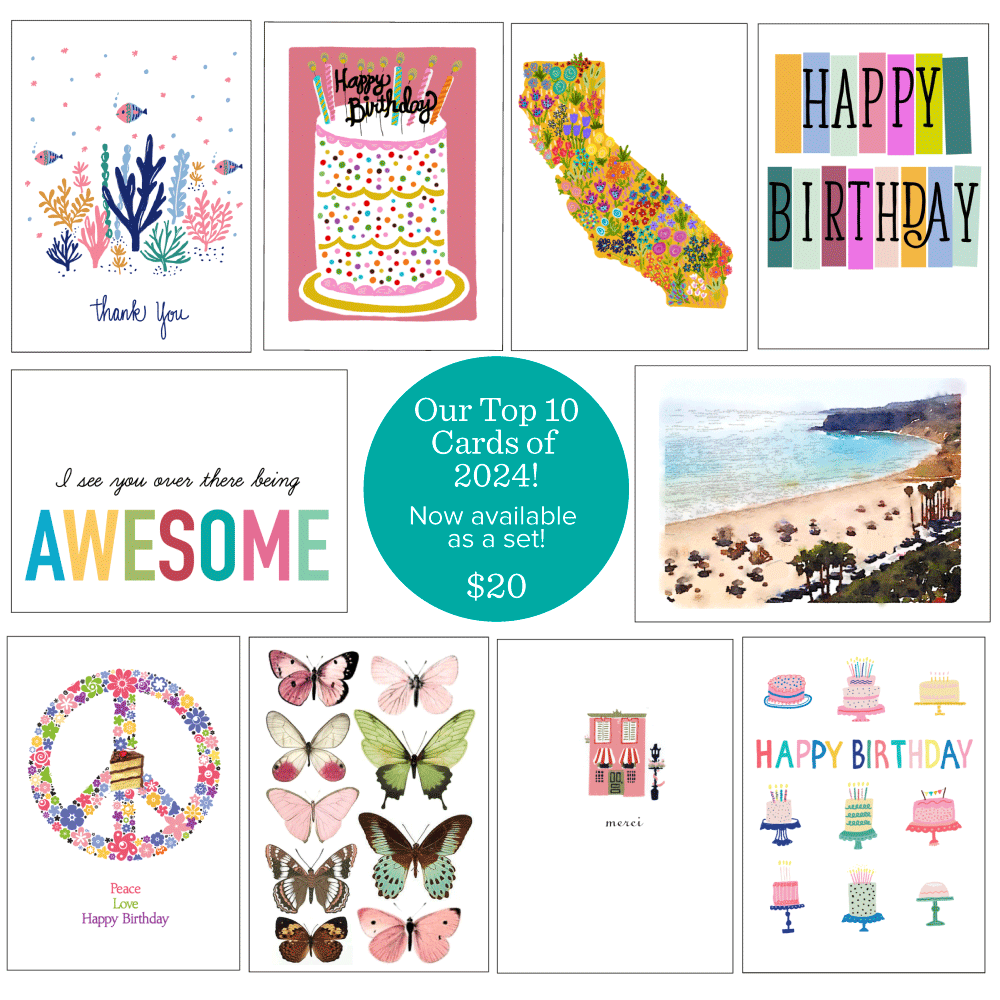
And of course, I’ve always got you covered with specially-designed note cards to make your words even more memorable. From quirky cards to heartfelt sentiments, each design is made with connection in mind.
Join the Note-Writing Movement
Need a little inspiration? Follow me on Instagram at @socialbutterflydesigns where I’ll continuing to share note writing prompts, ideas, and a peek into my own letter-writing routine.
Let’s bring back the joy of the handwritten note—one letter at a time.
Happy Letter Writing Month!
xx 💕…Jill 🦋 💌


![DSC03571[1].jpg](https://images.squarespace-cdn.com/content/v1/5908d963cd0f6857ec588723/1602284872392-0GMNO2OM3EHS8A261CJO/DSC03571%5B1%5D.jpg)